How to Fix a Broken Disposable Vape A Comprehensive Guide
Disposable vapes have gained immense popularity due to their convenience and ease of use. However, they can sometimes malfunction or stop working prematurely, leaving users frustrated. Before you toss your broken disposable vape into the trash, consider some of the steps you can take to diagnose and potentially fix the issue. In this article, we’ll explore common problems with disposable vapes and provide some helpful tips to revive them.
Common Issues with Disposable Vapes
1. No Vapor Production One of the most common issues is the absence of vapor when you inhale. This can be caused by several factors, including a dead battery, empty e-liquid, or a clogged airflow.
2. Burnt Taste A burnt taste can indicate that the coil has been overheated or that there is no e-liquid left to saturate it. This can happen when the vape is used deliberately or unintentionally after the e-liquid has been depleted.
3. Leaking E-Liquid Leaking can occur due to a loose cap, damaged seals, or transportation mishaps. This not only makes the vape messy but can also lead to wasted e-liquid.
4. Battery Issues Sometimes, the battery will run out faster than expected, leading to frustration if you presumed there was more life left.
Steps to Fix Your Disposable Vape
Step 1 Check the E-Liquid Level
The first thing you should do is check the e-liquid level in your disposable vape. Some disposables come with a clear casing, allowing you to see how much liquid is left. If it’s low or empty, that’s your issue; unfortunately, you cannot refill disposable vapes, so you will need to replace it.
Step 2 Assess the Battery
how to fix a broken disposable vape
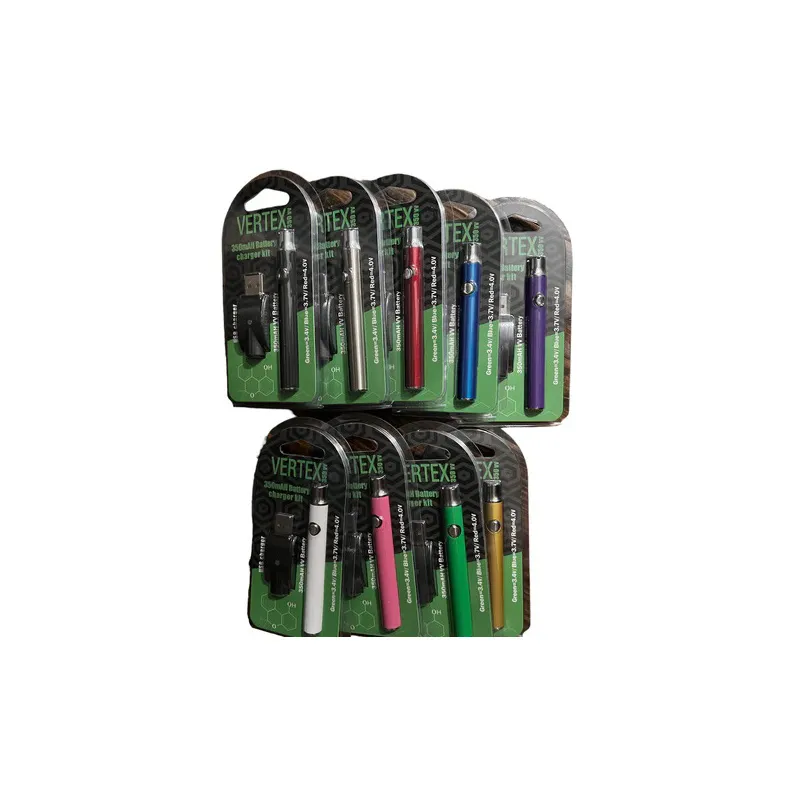
If the e-liquid level is sufficient, the next step is to check the battery. Many disposable vapes use built-in lithium batteries, which may deplete over time. If your vape has a charging port, it might be worth trying to charge it. However, most disposables are not designed for recharging, and doing so could be unsafe.
Step 3 Clear the Airflow
If your vape is clogged, this can prevent vapor from being produced. To solve this, gently blow through the mouthpiece while covering the air holes with your fingers. This might help dislodge any blockages. Additionally, you can use a small pin to carefully clear any debris, but take extreme caution to avoid damaging the internal components.
Step 4 Inspect for Leaks
If your vape is leaking, inspect it carefully for any signs of damage. Look at the seals and connections; if they appear worn or broken, that may be the cause of the leak. If it's leaking heavily and the device is damaged, it may be time to dispose of it properly.
Step 5 Try Adjusting Your Technique
Sometimes, simply changing how you use the vape can help. Try taking shorter, more gentle puffs rather than long, drawn-out inhales. This can allow the coil to heat evenly and avoid burning or sputtering.
When to Replace Your Vape
Despite your best efforts, sometimes a disposable vape is beyond repair. If you have followed all the steps and are still experiencing issues, it may be time to buy a new device. Vapes are generally affordable, and sometimes the frustration of trying to fix a disposable is not worth it.
Conclusion
While disposable vapes offer convenience, they are not immune to issues. By understanding common problems and taking a few troubleshooting steps, you can often fix minor issues and prolong the life of your device. However, recognizing when it’s time for a replacement is equally important. Remember to always handle your vaping equipment with care, and prioritize safety to enhance your vaping experience. Whether you’re a seasoned vaper or a newcomer, being aware of these tips can help you get the most out of your disposable vape.
Post time:Dec - 13 - 2024


